|
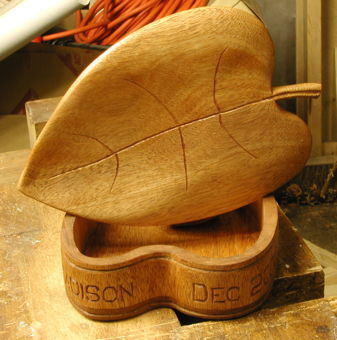
A box for Madison, in the shape of a leaf
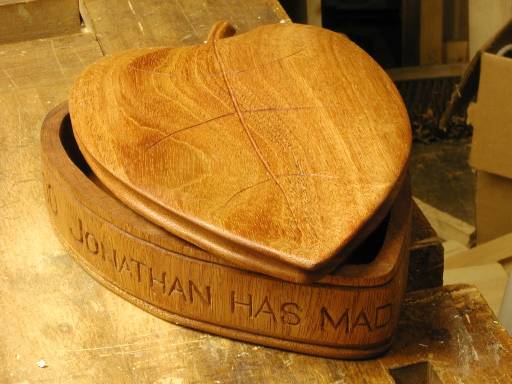
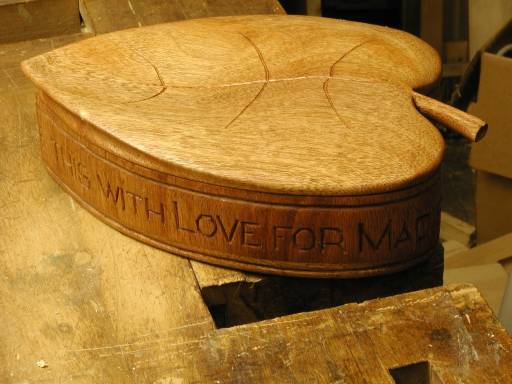
This is the first of the boxes I made, one for each of our daughters, and as you’d expect, it’s the simplest in construction. It’s all made from a mahogany board that I got at Arroyo Hardwoods, with the lid a single piece, while the box itself is constructed from several pieces with grain running vertical, glued to a thin plank. It has the message “Dec 2000 Jonathan has made this with Love for Madison” along the circumference.


|
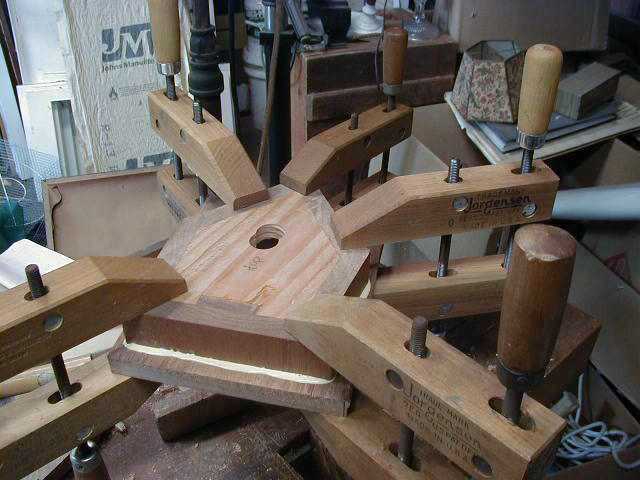
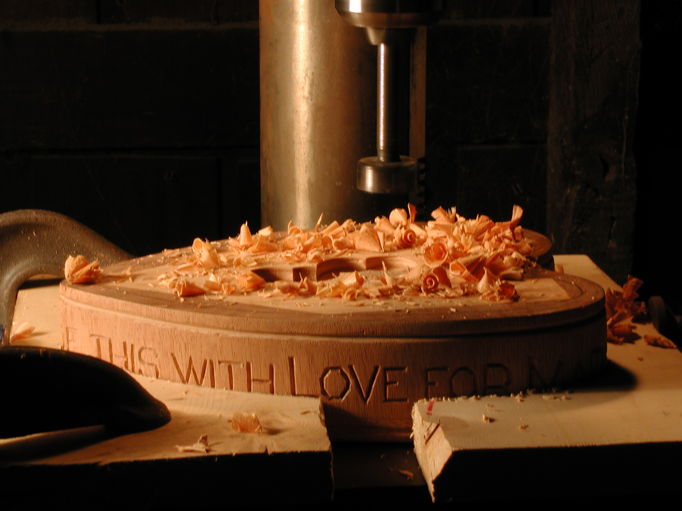
I’m sorry that I didn’t document more fully or more carefully the very first stages of construction of the box. First I made a blank of some softwood or other, I suspect it was a piece of 2×8, and I glued onto it a bunch of pieces of mahogany with grain running transversally. That is, vertically when the piece was laid flat. In the first image above, I’m removing the blank by drilling it away with a Forstner bit; the floor of the box will be glued to the surface that’s facing upward here. You can also see that the grain of the mahogany blocks runs vertically.
In the second shot above, the floor is being glued to the box, held in place by clamps.
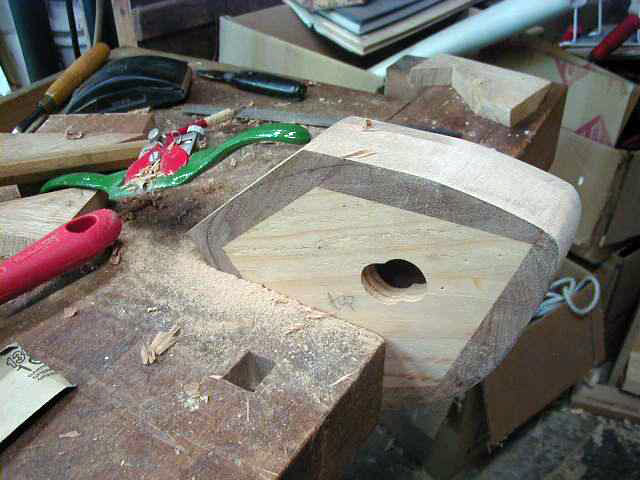
In the third shot, the box is being planed to the final outer shape with the green-and-red spoke-shave that you see. Remember that you’re looking at what will be the upper edge of the box; you can see the floor clearly in the larger version.
In the fourth, rightmost, picture, the box is fully shaped, but the blank will be left as you see it here (and in the bigger version), mainly to maintain its strength and rigidity.

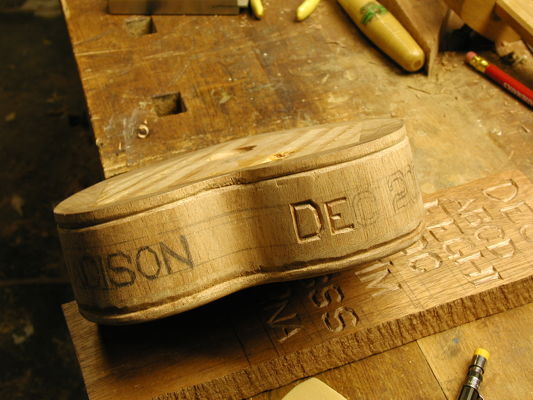
Once the box was shaped on the outside, the next step was to carve grooves a fraction of an inch from the bottom and from the top margins. You’re looking at the bottom over there to the left, don’t forget.
After laying out the legend, I started to carve it. As you can see in the second thumbnail to the left, I have just begun, but only after trying out a number of carving techniques on a trial board of the same wood. I used a “chip-carving” knife rather than a small-gauge gouge.
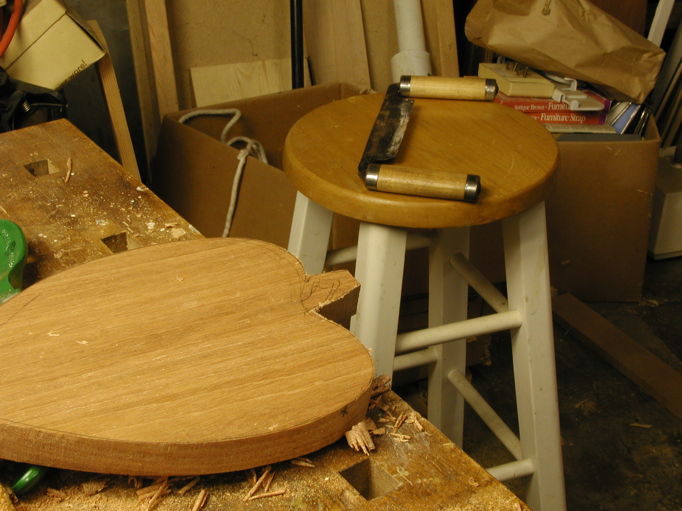
Next was to finally remove the blank that I had glued the sides to. To hold the box firmly in this and all subsequent operations, I took two boards and cut out the outline of the apex and stem-end of the leaf. In this way, I would minimize the chance of marring the carving. In the first picture to the right, I’m again using a Forstner bit to drill away the softwood. You see how the piece is held in place there, too.
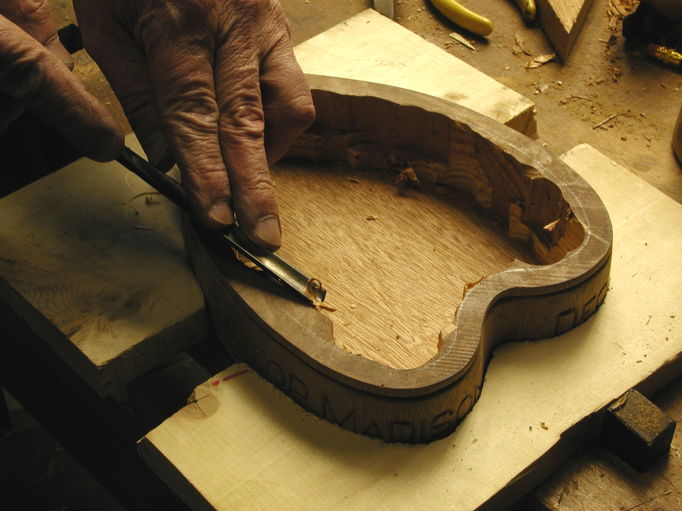
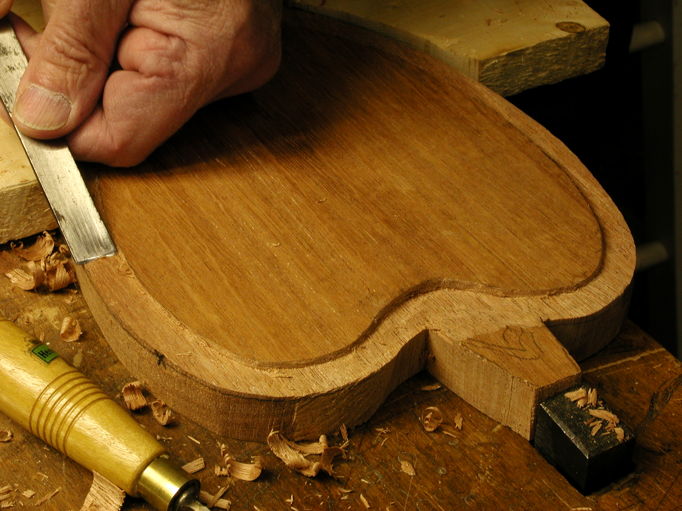
In the second picture to the right, I’m using a gouge to clean up and smooth out the floor of the box. But the walls still need thinning. You can see the pencil-lines drawn on the upper surface indicating the desired thickness of the wall.
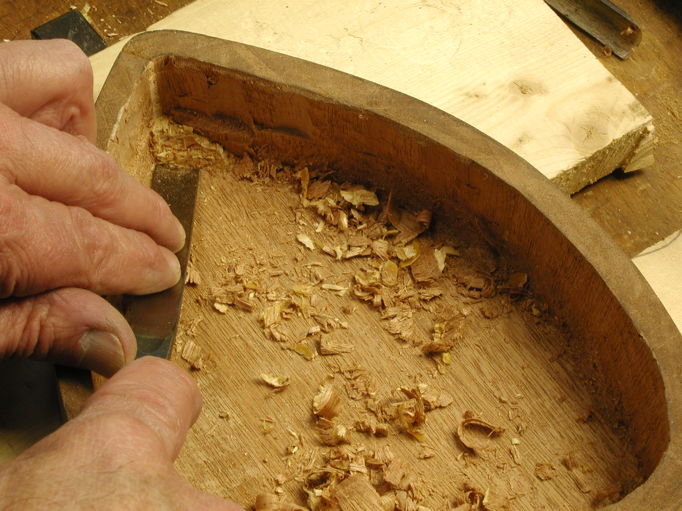
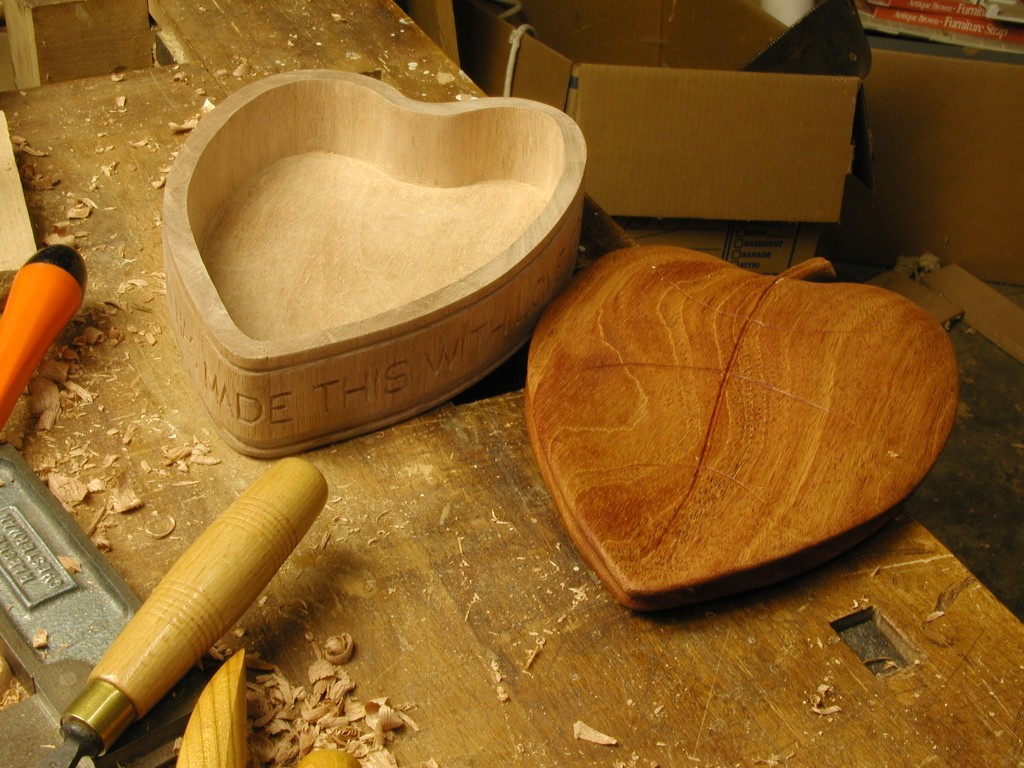
Before the work on the lid, the last thing to do was thin the walls of the box sufficiently, and smooth its floor. To the right, you see that I’m using a gouge to do just this. Although it’s not obvious in the picture, the tool I’m using is a bent gouge, whose blade curves gently upwards, allowing the right angle of attack on a recessed surface.

For the lid, I cut a rough blank out of my mahogany plank, evidently using a coping saw, then turned the box upside-down onto the surface of it and traced around with pencil, with the result you see in the top-left picture to the left. Then, using a surform rasp, a spoke-shave, and my big draw-knife, which you see in the top-right picture to the left, I got the blank to match the shape of the box that it would fit onto.
The lid would have to seat down into the box properly, and so I cut along the lower surface of the lid, as you see in the middle-left picture. That’s a gouge with a very gentle cutting edge being used there.
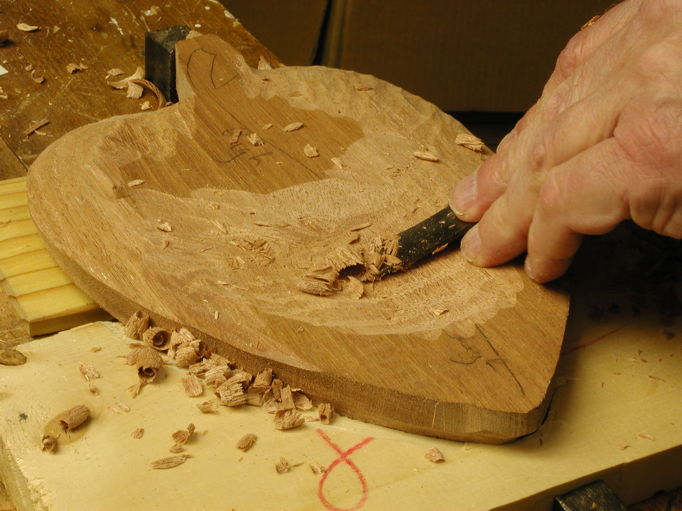
In the middle-right picture in the block to the left, I’m once more using the bent gouge to rough out the upper surface of the leaf.
Once the top surface was carved to the right curvature, but before the sanding, I formed the stem of the leaf, by cutting the blank down with a coping saw, shown in the bottom-left picture.
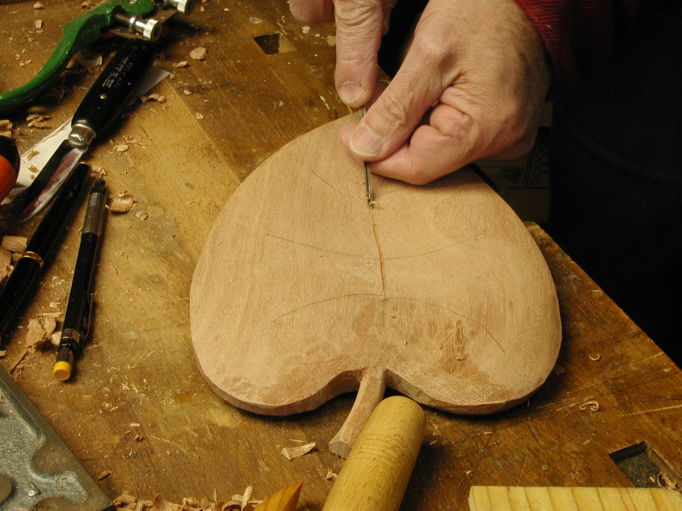
And the very last operation before the finishing was to put in the veins of the leaf, shown in the bottom-right shot.
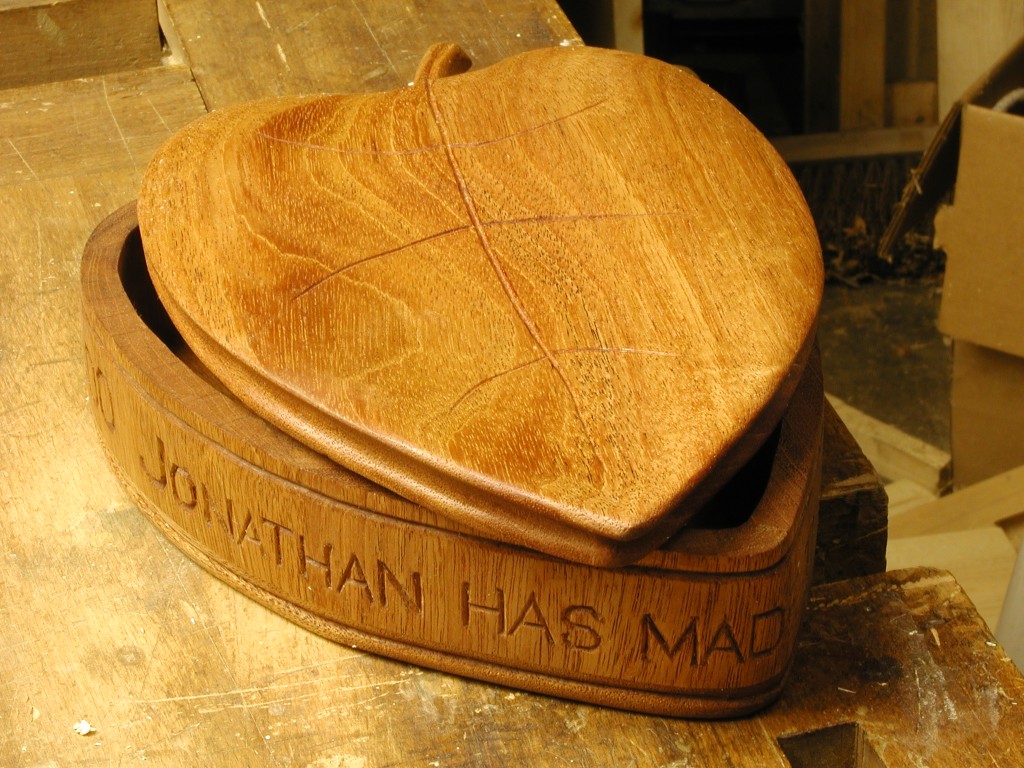
The finishing involved letting successive coats of tung oil soak into the wood and harden. It’s a simple way of finishing wood, leaves the underlying color and grain completely unobscured, and is very easy to apply. I was finished by New Years Day 2001, the day most of the pictures below were taken. Each of them has two expanded versions: the moderate-sized one that you get by clicking on the thumbnail, and the full-sized one that you get by clicking on the short green bar underneath. Of these pictures, only the first one needs comment: it shows the box proper unoiled, the top with at least one coat of oil. You see how the oil brings out in the wood its natural color, which actually gets hidden during the process of sandpapering.


