|
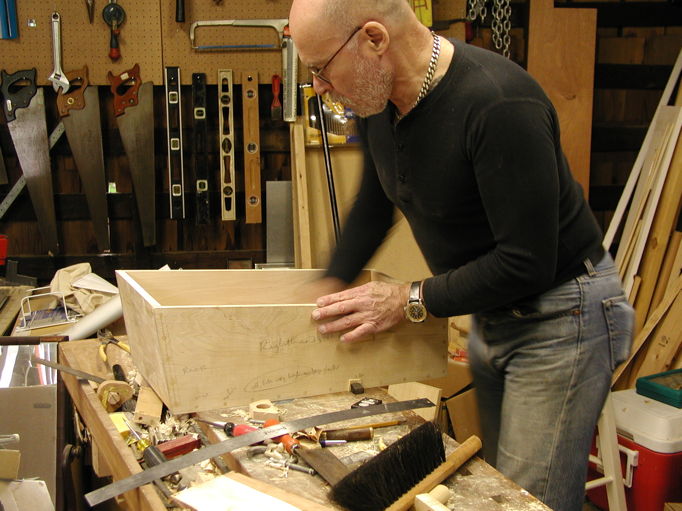
| Sanding the interior of the box that would be the main body of the cart (Spring, 2001) |
A cart for children to push each other around in
Although I took fairly many pictures of the process of making this little cart for our daughters in Rhode Island, rather few of them are any good for documenting how I worked. So there are not as many pictures on this page as on the other woodworking pages.
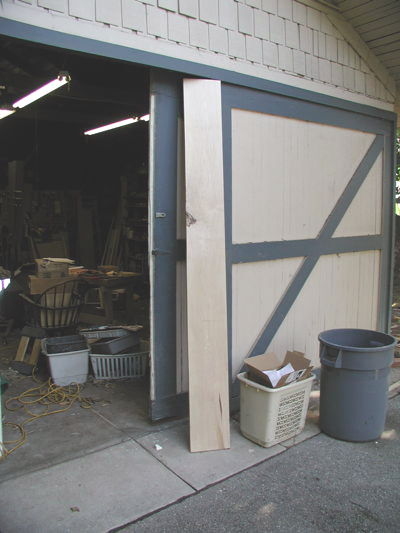
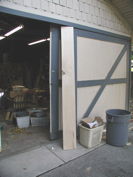
At Arroyo Hardwoods, I found a nice piece of maple, slightly curly and birdseyed, that I figured would be serviceable to the task. Over to the left, you see it leaning against the garage door. I had never worked with maple before, and knew it would be so hard as to require frequent resharpening of my tools. There’s a larger view available too, which you can also get to by clicking the thumbnail.
In designing the new cart, I decided at the outset that it should be a little roomier than the prototype, and especially that the back should be canted somewhat, to make it more comfortable to sit in. Besides that, I wanted the back to be higher than the front panel that the kids would be putting their feet against. This means that the side panels of the cart would have to be quadrilaterals with no sides parallel. In the image to the right, the rear and front plates are placed in position for aligning the other pieces, but not yet glued.

Now, writing it all up twelve years later, I don’t recall all the missteps and misplannings that happened here, but I do remember that my idea was to hold the pieces together firmly with screws during the gluing, which you see in the image to the right. And I do recall that when I tried to extract the screws, many of them were held more firmly after the gluing, and I couldn’t turn them to get them out. I had always intended to drill small holes for dowels to cover the scars from the screws, but now, with the recalcitrant screws that I could not fully remove, the final effect was rather messy.
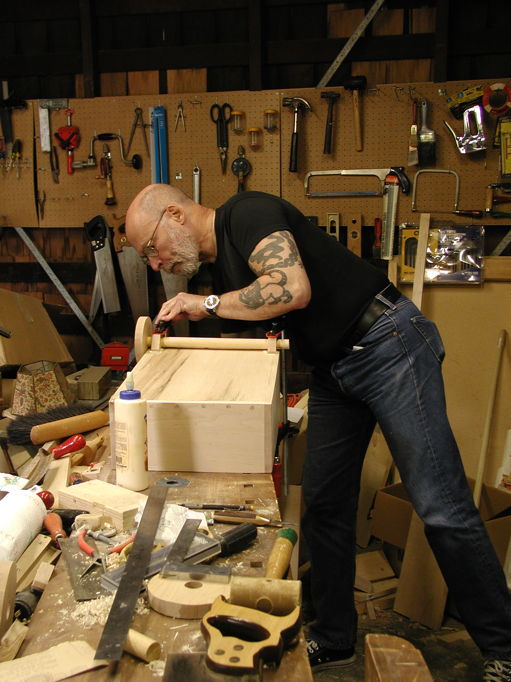

The next step, after finishing the box, was to make the wheel assemblies. At this time, I didn’t have any kind of lathe, so I faked circularity of the wheels by what method I do not recall, and mounted one of them on a 1′′ dowel, then used that dowel to align the two wheel bearings, which were also just maple. Over to the extreme left, you see me clamping the bearings into place after gluing.
To make sure that the wheels didn’t come off the axles, I sawed a slot into each axle-end, and when each wheel was in place, while the glue was not yet set, I pounded a wedge into the slot to expand the axle-end and force the axle into closer contact with the hole in the wheel. That’s what I’m doing in the second picture to the left.
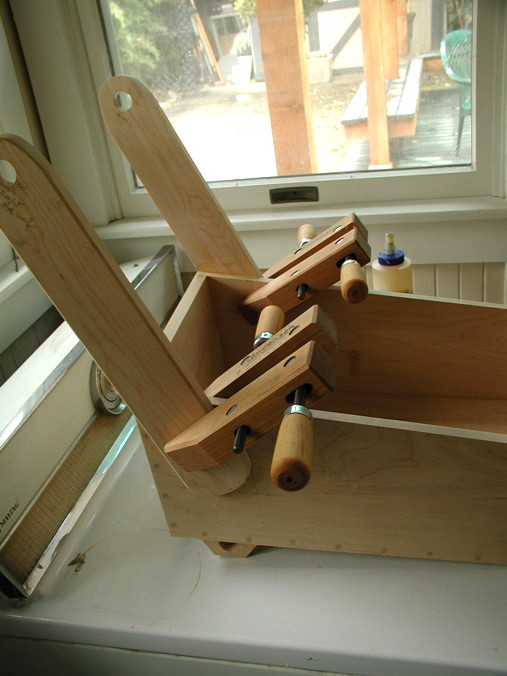

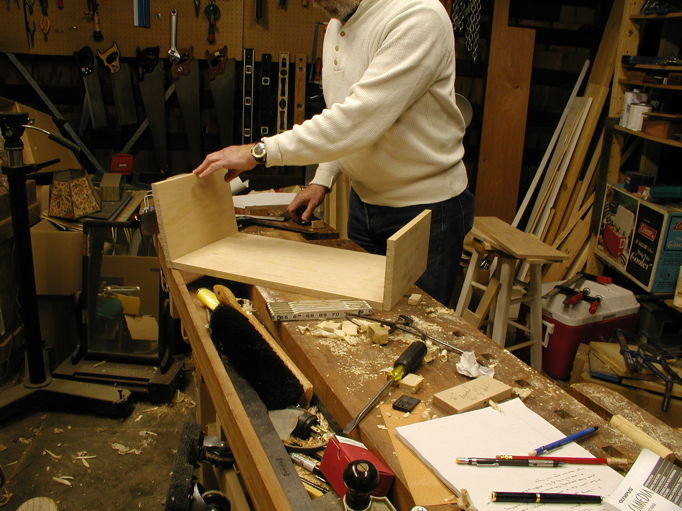
Last step, before the finishing anyway, was to glue the handle into place and attend to decorative flourishes. In the first picture to the right, you see the handles clamped to the body during gluing.
The handles were at first glued on in a flat-to-flat joint, but after the glue set, I strengthened each joint with the five dowels that you see at the lower end of the handle in the second picture. That was not merely decorative, but on the wheels I took advantage of the fact that I had a dowel of Purpleheart, a wonderful wood that is also extremely hard, and not at all easy to work. Because of its pleasing and surprising color, it’s a natural choice for accents and details. Even though it’s not extremely costly for an exotic wood, you’d never think of making something entirely of it. I used Purpleheart for the decorative insets at the handle-bar end of the handle, too.
The finishing was much simpler this time than usual, I just used linseed oil. You smear it on and wipe it off after waiting ten minutes or so, once a day for a week or so. Oxidation of the oil (that’s what causes spontaneous combustion in rags if they’re soaked in linseed or other oxidizing oils like tung oil) makes a hard coating that actually penetrates a millimeter or more into the wood. A linseed oil finish will darken gradually over the years, as I recall.

|
|
May 15, 2001, the completed cart, after finishing, ready to be presented to the three girls, then aged two and four. |